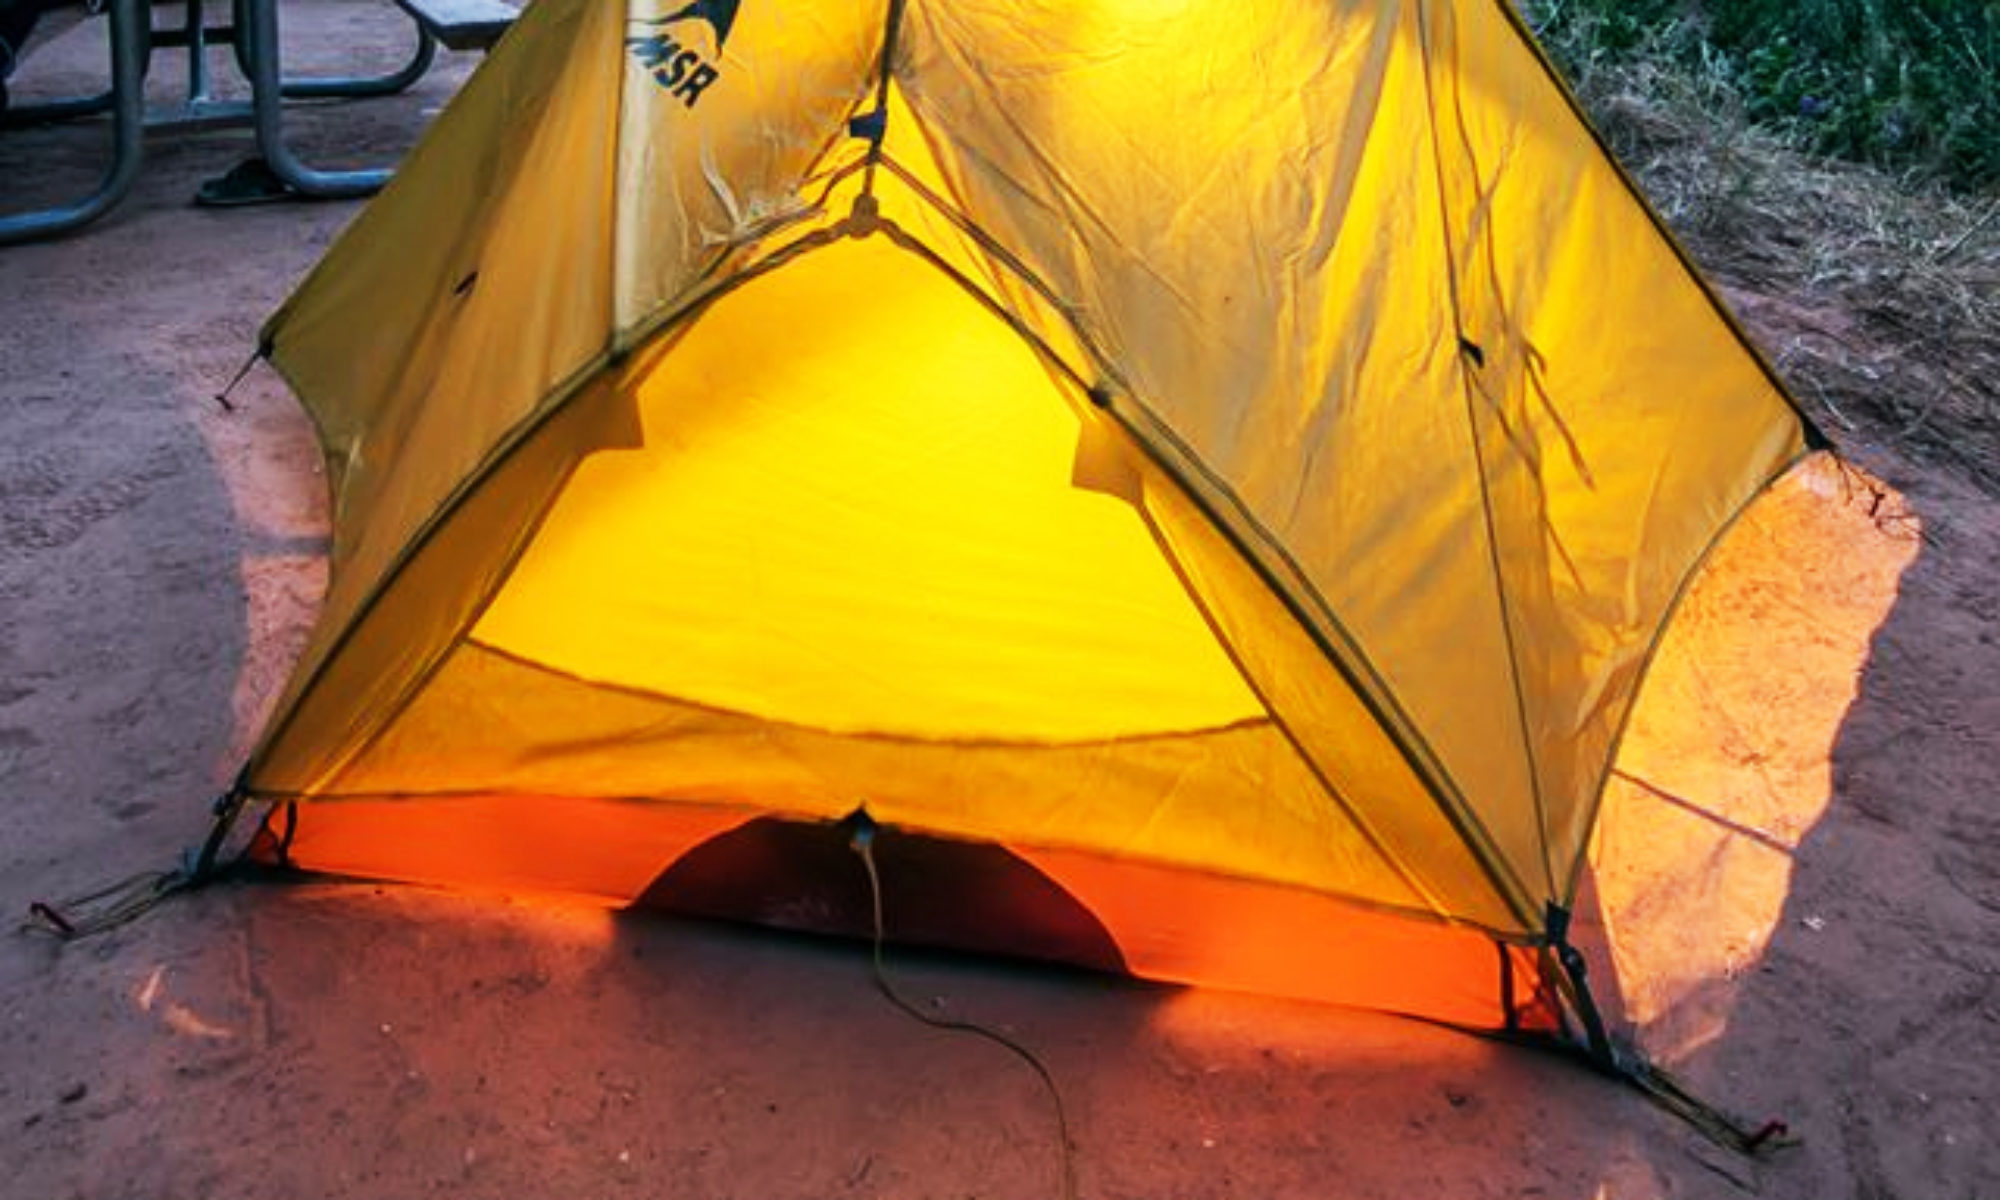
Beer or Soda can stoves are a great alternative to expensive high tech gear. One year, some members of our backpacking team, made a huge effort to go light, and go cheap. Several of us did DIY and built what is commonly referred to as a beer can stove. Cheap, easy, and surprisingly very usable.
They are virtually weightless if you are only talking about the stove. They burn denatured alcohol which you have to factor that weight in. Also the weight of a leak proof fuel container.
There are plans all over the internet. So we will not go into the details of construction. Build and use these stoves at your own risk. The flame from the alcohol is virtually invisible especially in bright sunlight. But they put out some incredible heat. Great for boiling water to prepare dehydrated meals.
Wind can make them a little difficult to light, and at times hard to maintain the flame. Carry some type of wind screen even if that might be folded up aluminum foil. Or stack some rocks or other natural wind screen.
Lighting is a bit tricky until you get the hang of it. There is a primer stage to get the fuel vaporizing….then things take off nicely. They light easily using survival type Fire Starter Sticks that incorporate magnesium rods and striking sticks. Sure beats being cold and hungry to find out your matches have gotten wet.
These stoves can also be used in an emergency situation in which you need to start a campfire with wet or damp wood.
Burn your unused fuel before you hike out, and you carry nearly no stove/fuel weight on your return trip.
Regardless of whether you end up using one, they are fun to make and try out.
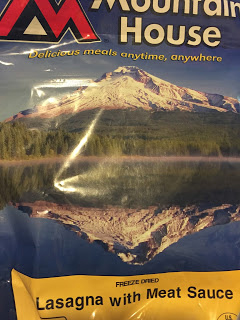
Do you backpack and use Dehydrated Freeze Dried Meals? Here is a concept to help lighten your load. Freezer grade Zip Lock Bag cooking for virtually no clean-up eating.
I have tried several brands of dehydrated freeze dried meals over the years but my favorite is Mountain House. This is my own personal preference and not a paid endorsement. There are several meals that are truly my favorites, and none I would turn down.
I buy the 4.8 oz size dehydrated meals that are in the $6 to $7 range. You can often get a 10 pack for around $40 to cut down on your expenses.
If you check the label, these are the 2.5 servings size bags. When I was younger I could down the whole meal. Now I find half is very satisfying. If you are a couple backpacking or camping together it is easy to cook the one bag and share.
I solo backpack, or travel with friends that have a partner to share their own with. So I have found a great way to handle the meal sizes, plus cook in such a way I have no dishes to clean up. I use the “Zip Lock Bag Cooking” technique.
I am also not pitching uneaten portions of the meal and wasting it.
At home before a trip, I take the 2 1/2 serving size bags and open them. I pour them out on foil and divide the ingredients in half. Paying attention to make sure equal amounts of seasoning, noodles, veggies, and meat are roughly equal in both piles.
I pour one of the two piles into a gallon size freezer grade zip-lock bag. I pour the second pile into a second gallon size zip-lock. I take a sharpie and mark the zip lock with the appropriate amount of water (half remember) and the cooking time. I only open just enough for the trip. Once the manufacturers foil pouch has been compromised, these meals no longer have the shelf life they originally had.
Each one of these zip-locked meals get put inside an additional gallon zip-lock that I have placed one clean paper napkin, and a folded up piece of aluminum foil that is large enough to fold a complete pocket over the “cooking” zip-lock bag. You could actually skip the double bag and napkin if you need to cut weight.
To use, I boil water in my Jetboil stove (No food ever goes in my stove/pot). Once boiling I pour the appropriate amount of hot water into one of the zip-lock food bags containing the dried meal. I then seal the bag, slip that into the foil pouch I have constructed, and seal the foil all around.
The foil helps retain heat and re-constitute the food. Shake and knead the bag several times while being re-constituted with the hot water to make sure the freeze dried food all gets mixed with the water. Let the foil pouched zip-lock “cook” for the prescribed time.
Once ready to eat, remove the zip-lock from the foil, open the zip lock bag and eat directly from the bag. Save the foil for the next meal if need be. Your dirty spoon can be cleaned using boiling stove water.
You don’t need to carry soap, dish cloth, or dish towel. Your napkin can be used to dry your spoon and stove pot. Any cooking/food waste goes in the used zip-lock including the now used napkin.
Seal the waste zip lock and place it inside the other zip lock. This trash can be put in the bottom of your pack and packed out for “Leave no Trace“ camping. You won’t be dumping soap or food particles on the ground. Save your foil for the next meal if you only brought 1 piece. I usually make sure I have at least two meal packs with folded up foil in them.
Tooth Paste Dots will help a true ultra-ligh backpacker shaves off weight where ever it may be found. While looking at your toothpaste may seem utterly ridiculous, you can save well over a 1/2 ounce. A 1/2 ounce may seem minuscule, but it all adds up to pounds. Add this weight savings to sawing off your toothbrush handle and you will cut over 1 ounce with this little project.
A little travel tube of tooth paste, including the tube itself, weighs 1 ounce. What is marked on the tube is .75 ounce, others .85 ounce, but that didn’t factor in the plastic squeeze tube.
Toothpaste dots can be made using the below method. Once dehydrated store in a small zip lock such as a 3 inch size. The type of ziplock jewelers, or people selling beads or small gemstones use. Some arts and crafts stores carry them. Once you have the dots made count out how many you need to carry. Don’t take extras.
This also avoids a ruptured tube of tooth paste messing up items in your pack. Squirrels and mice are famous for chewing holes in the tube and making a mess. Plus remember you are dehydrating the past so it will even get rid of the weight of the moisture.
To Make
Squeeze out a little dollop of toothpaste on a piece of wax paper. Continue and make as many as you need.
Some people sprinkle with a small amount of baking soda to make them non stick
Place uncovered in your refrigerator for 3-4 days, or until dried out.
Once dry, pull off wax paper and store in a zip lock.
They will look like a white chocolate chip (don’t start baking with them LOL)
To Use
Place one Dot in your mouth and chew
Wet your toothbrush with water
Start Brushing
Watch for more weight savings ideas. Send us your favorite hacks and tips.